- GPT29 Cold Chain White Pa...
- MDTF Results Page...
- GPS IoT tracking solution...
- GPS Trackers For Vehicles...
- Cellular Asset Tracking...
- M2M(Machine-to-Machine) G...
- Supply Chain Visibility...
- Fleet Management...
- Narrowband IoT solutions;...
- GPS Fleet Management: Fle...
- GPS Tracking Devices: Why...
- Wireless Temperature Moni...
- Choosing A GPS Vehicle Tr...
- GPS Tracking Device For C...
- Get Smarter Fleet and Str...
- Keep Your Loved Ones in t...
- GPS Tracker OEM/ODM...
- Product Engineering...
- Testing and QA...
- Embedded Software Enginee...
- Hardware Engineering...
- Blog...
- GPS IoT device Manufactur...
- Infographics...
- Videos...
- Vehicle Tracking...
- News...
- Thank You...
- dealers...
- GPS Tracking System Solut...
- Sitemap...
- Certificates...
- Factory Tour...
- GPS Tracking System...
- GPS Accessories...
- Company History...
- Support...
- EELink FAQ - GPS IoT Trac...
- Tools...
- Command List...
- User Manuals...
- Tracking Software...
- Apple IOS Apps...
- Android apps tracking...
- GPS Tracking Solutions...
- Contact Us...
- About Eelink...

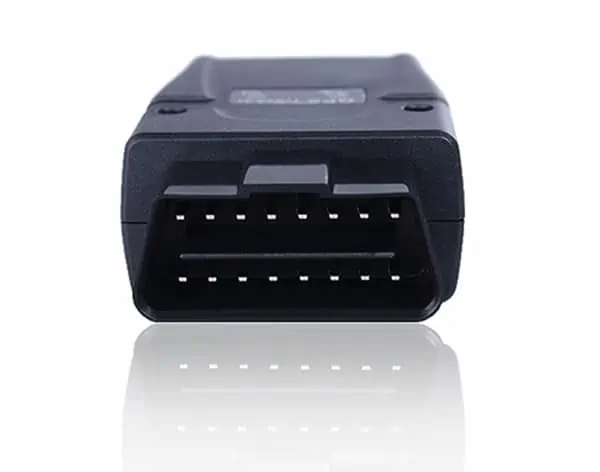
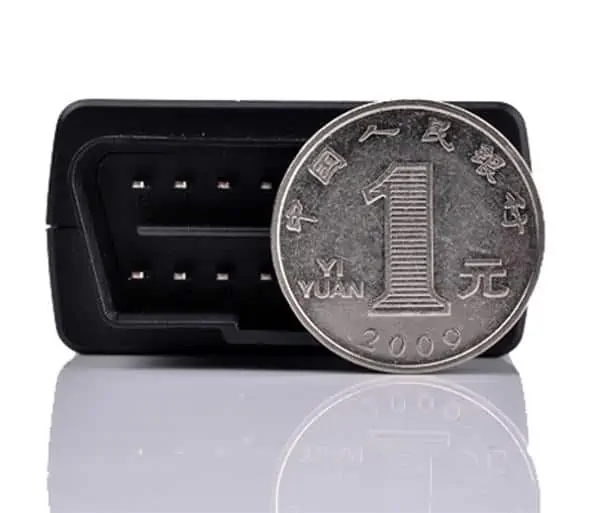
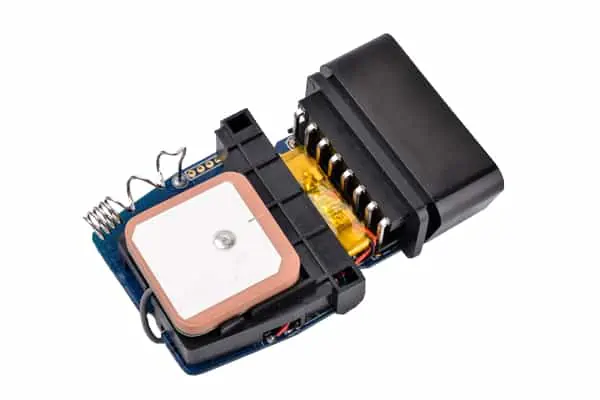
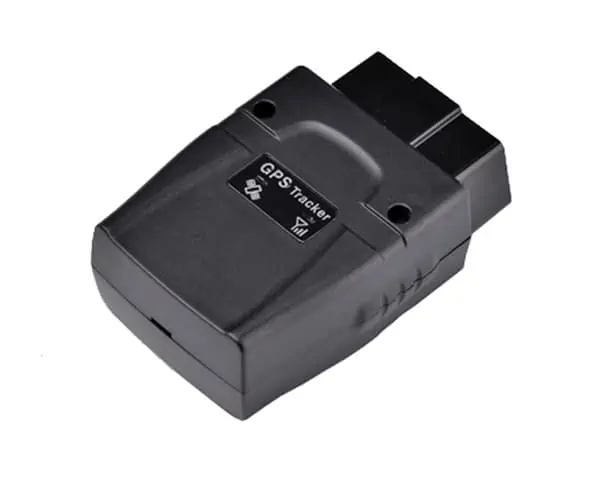
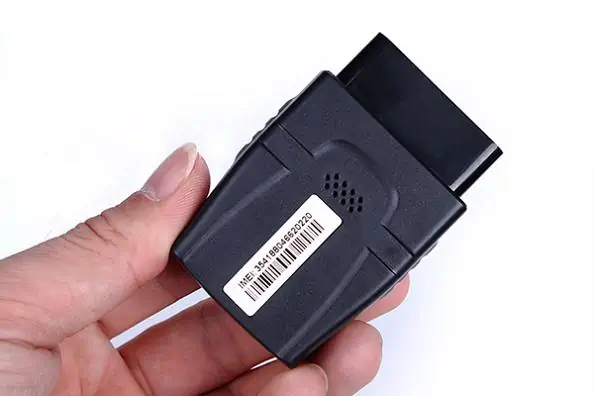
OBD II Vehicle GPS Tracker – OT08
Model NO: OT08
Product introduce:
- Introduction
- Downloads
How to find your OBDII Connector
Start by looking around the underside of your dashboard, below your steering wheel but above your gas and brake pedals. The diagram below will show you the general area to search.
![]()
The connector may be covered by a small flap, but will usually be visible without requiring any disassembly. Once you believe you have located the OBDII connector, compare it to the picture below.
Installing the OBDII-GPS
Once the OBDII connector has been located, all that is required is to plug the OBDII-GPS into the connector. Once you turn the ignition of the vehicle on, the small lights on the unit will blink. During your first installation, you will need to give the OBDII-GPS unit a minimum of 15 minutes fully initialize.
Application
DRIVERS – Receive location, route and vehicle condition assistance automatically, anytime and anywhere.
TECHNICIANS – Remote vehicle diagnostics protects equipment and drivers.
OPERATIONS – Use real-time visibility to run operations more efficiently and safely.
DISPATCHERS – Plan and adjust routes more effectively and immediately.
SERVICE MANAGERS – Answer location inquiries faster and accurately.
RISK MANAGERS – Ensure regulatory compliance because unplanned incidents are reduced.
ACCOUNTANTS – Measure cost savings and increased customer satisfaction realized.
IT MANAGERS – Save valuable resources, with no demands on existing IT infrastructure or personnel.
EXECUTIVES – Increase value, through gains in productivity and utilization.
Cars Diagnostic System record function
1.Supports quad bands,
i.e. 850/900/1800/1900MHz,
universal in the world.
2.Easy to install, connect the OBD interface to work.
3.Supports single positioning and feedbacks position via GPRS at setting times.
4.Supports vehicle positioning and tracking.
5.Vehicle status and speed from OBD data is better than ACC.
6.Vehicle collision, falling alarm by SMS/Platform (optional).
Environment for use
1.Limited working temperature:-20°C~80°C
2.Storage temperature:-45°C~90°C
3.Humidity:<95%
4.Make sure the terminal is installed in OBD2 interface of the vehicle
Basic Specifications:
| Working Voltage: | 12VDC/24VDC |
| Standby Current | <3mA |
| Work current : | <120mA |
| GPS positioning accuracy | 15M |
| GSM positioning accuracy | 100M |
| GPS Frequency | 1575MHz |
| GSM Frequency : | 850/900/1800/1900MHz |
| Hot/warm/cold start time : | <3S,<1S,<60S |
| Dimensions (mm) L*W*H : | L*W*H:56.5 X 47 X 24.6 |
| Weight : | 45 g |
This device plugs into a vehicle’s OBDII port for ease of installation. An additional Y-cable allows you to place the device up under the dash for an even more covert option
![]()
![]()